Monday, March 21, 2016

Chevy Volt Lithium Battery Project

So far I am very pleased with the Chevy Volt Lithium Project.  The batteries have been in the 2015 Montana 3611RL for a little over two weeks in the storage lot.  This is off grid location, and only changing is completed via Solar Panels.  We had cold cloudy day yesterday, so solar output was only 70.8 AH for the entire day.  Since I have AC Inverter on 7/24, and the Satellite receiver on all the time, the daily load is around 184 to 190 AH per day.  So we started today (full Sun day), already 120 AH in the hole from previous day plus the AH used over night.

Today's output was 241 AH, and Solar Controller was in Absorption for 276 minutes, but that just means the Lithium Batteries fully charge and didn't need any more power for 4.6 hours of the daylight hours today.   Once the batteries reach 12.06 vols, the batteries are disconnect from the RV and the power is provided by Bootscaps and Solar Panels while the Sun is shinning.

Now lets get to the fun stuff (pictures), btw the previous blog post had more information on my project.
Battery Box Top View 21" W x 24" L x 15" H

Battery Box Bottom View


Old Battery Installation - Six 6V Trojan 105


Old Batteries Removed


Chevy Volt Batteries have liquid cooling

When it get to hot I can open the compartment door

Another look at plumbing
I had a minor set back here.  The electric water pump is DOA, so now I need to drain the system and put another pump in there.  I have a few months before temperatures get above 90 degrees.  The heater is working fine, and we are going to be near freezing tonight.


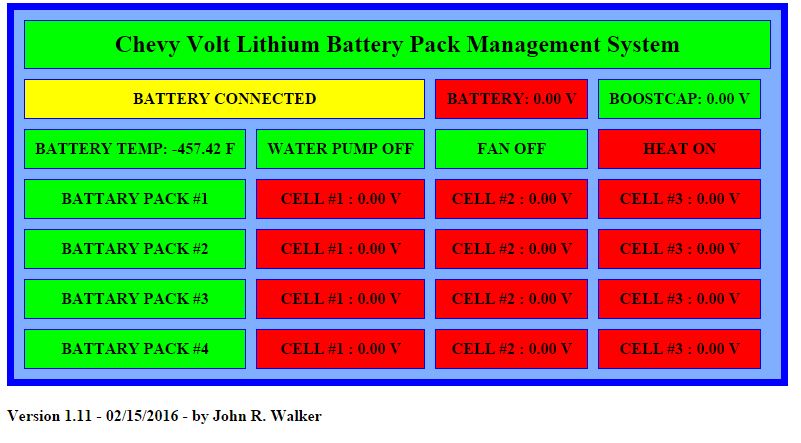
All those wires on top are the Battery Management System (BMS) that I created.  See previous post for more info
 
Battery Box with lid on.  No venting required, no maintenance either.
Because to the Chevy Volt batteries are Lithium Ion, the cell voltages are different from most common Lithium batteries used in RV's today (LifePO4), there are three cells to make 12V, where LifePO4 use four cells.  It is very important that the Lithium batteries not be over charged or discard.

My target voltage per cell is 4.02 volts per cell.  So when my battery pack is 12.06 Volts, it is fully charge.  The 4.02 volts per cell is really the 80% level.  Charging to 90% is around 4.1 volts per cell, and 100% is around 4.2 volts per cell. 

The batteries will last a lot longer, at 80%.  The batteries are expected to last 15-20 years when charged to 80%.  If you charge to 90% 4.1 volts per cell, the life drops to 7-8 years, and at 100% 4.2 volts per cell, life drops to 4-5 years.


Had Residential Fridge and Satellite Receiver running for 24 hours.

Used 184 Amp Hours over night.
Battery Voltage Dropped from 12.06 Volts to 11.48 Volts


After running Fridge for 36 hours I turned it off.  Panels are facing East and West, not getting 100% of rated power, but was still able to harvest 340.9 Amp Hours on one day when the Fridge was running.

More picture can be found at Lithium Battery Project


Sunday, February 21, 2016

Chevy Volt Lithium Battery Packs For My Montana RV


Chevy Volt Lithium Battery Packs Converted to 12 Volts.  What you see is my 800 Amp Hours battery pack, with a weight of 188 lbs.  This will replace my Six Trojan T-105 (675 Amp Hours) with a  weight of 384 lbs.
Hi Folks,


My six Trojan T-105 Golf Cart Batteries are are six years old, and running out of gas.  I wanted to replace them with Lithium Batteries, but they are not cheap.  Reading up on Lithium Batteries, I found the three things will greatly reduce the lifespan of Lithium batteries.  1) Letting the batteries discharge to far, 2) over charging them, and 3) letting them get to hot.

I picked up four Chevy Volt Lithium Battery Packs converted to 12 Volts each rated at 200 AH.  The batteries have liquid cooling, which I plan to use.  The batteries also have a temperature sensor, so I will be able to monitor the battery temperature.  There really isn't any off the self Battery Management Systems (BMS) that will work with Chevy Volts batteries outside being in a Chevy Volt.  The little I could find out was that very max cell voltage is 4.2 volts per cell; however, if you charge them that high, you will shorten the lifespan to less than 4-5 years.  Charging the batteries to 4.02 volts per cell, the batteries will last 15-20 years.  Charge them to 4.1 volts per cell, and the lifespan drops to 7-8 years.

I haven't found any data on max temperature, but some folks say keep them under 90 degrees.  I plan to keep my battery cell voltage between 3.3 Volts and 4.01 Volts, which I can adjust in the program, once I get some real world use.

Speaking of program, my BMS is home grown, using Arduino Mega microprocessor.


Arduino Mega Microprocessor 256 KB Memory 16 Analog Inputs and 54 Digital Input/Output Pins

I added off the self Ethernet board that plugs right into the Arduino, and I added two prototype boards with my circuits to measure cell voltage, battery temperature, total battery voltage and Boostcaps voltage.


In case you wonder what a Boostcap is, here you go, I will explain later why you need them.


Top and side view of my BMS.  Four ribbon cables will attach to the two prototype circuit boards.  I still need to wire the fan and pump control pieces.  I will use two MOSFIT so I can control the speed of the fan and pump.

Here is the side view of my four Chevy Volt battery packs.  Two packs are connected together to make two 400 AH battery packs.
Battery Management connections.  One for each pack.


This is my development work in progress.  The very top you will see the Boostcaps (six in series).  The front center you will see the battery relay.  To the right of the battery is my BMS, and to the right of that is hobby battery monitor, balancer, and discharged.


Here is two packs connected to the BMS.


Here is the Battery Management System web page I programmed for the two battery packs above.  


Here is the completed BMS web page, with batteries not connected.

OK, so the why do we need the Boostcaps?  There two reasons, the solar controller isn't really made for Lithium batteries, and neither is the Montana's converter (converts 120 volts AC to 13.5 Volts DC).  Lithium battery will charge a very high rate, but when they reach the charge voltage, you need to stop charging them.  The most common RV batteries are Lead Acid, AMG, and Gel batteries, which you have to hold a high voltage of charge for 3 hours to fully charge them. These type of batteries require 15% more power put into them, than you get back out.  Also only 50% of AH capacity can be used.  The number of cycles is around 500.

With Lithium batteries, you get the same amount of power out as you put back in.  Lithium batteries can safely use 80% of AH capacity, and number of cycles is 3,000 to 4,000.  If not pushed beyond the 4.02 volts per cell, battery temperature maintained, the batteries could last 15-20 years.

The drawback to Lithium batteries, is you must have special charging systems that manages the charging, discharging of the batteries, and keeps the cells balanced.

So now we come to the Boostcaps, to trick the dummy charger into thinking it is charging a Lead Acid battery.  The Boostcaps are very low voltage (2.7V) so putting six in series the can handle 16.2 volts with millions of cycles.  I don't know how many Amp Hours are in the Boostcaps, but the can deliver 1,000 Amps for short period of time, and recharge in seconds when connected to a battery.   

Since the solar controller can be damaged if disconnected from the batteries while the solar array is making power, the Boostcaps provide a battery like equivalent, and everyone is happy.

Now we need a way to connect the batteries to the Boostcaps when the batteries need charging, and to disconnect when fully charged.  And if the Boostcaps voltage drops below the battery voltage (meaning no more solar power or load is greater than solar output), we need to connect the batteries to recharge the Boostcaps.  We also need to make sure no battery cells drop below the set value in the BMS parameters.


Battery relay is controlled by the Arduino program, which monitors all the batteries cells, battery voltage, and Boostcap voltage.  The program will then decide weather the relay should be closed or not.


Here is the Arduino, with my two prototype boards and the battery balancer.  When all four packs are hooked up there will be four battery balancers plug into the two prototype boards.

Although I have already prototype'd the Fan, Pump, and Heater controls, I need to put those circuits my finished prototype boards.

I also need to build a insulated battery box to keep batteries warm.  After that I will need to plumb the cooling lines, pump, and radiator to keep then cool.


A couple folks have asked how the batteries were converted to 12 Volts.  I bought them already converted, but basically the cell connection plates are cut into sets of three cells in series.  Then the four sets are wire together in parallel.


Battery heat, pump and fan circuit.


Here I have just the Boostcaps connected so I and test the new circuits I built tonight (2-23-2016).  Also test low and high voltage disconnects.  The light will be my heat source.


Here you can see the three MOSFITS that control the Heat (three light bulbs), water pump, and fan on the radiator.


This is my electric water pump from a Priest. 


I got a small radiator with electric fan.

More to come....